A chef’s knife is arguably the most valuable tool in the kitchen. Despite this, it is frequently the most underappreciated instrument (along with the other knives in your knife block). What is the reason for this? Knife sharpening is a daunting job. Perhaps you assumed that using a honing steel would sharpen your knives. Honing, on the other hand, simply straightens the tip of your knife.
It takes less force to cut with a sharp knife, and the results are more consistent. You’ve probably had a frightening experience where the knife fell on something you were cutting but you nearly cut your hands. It’s risky to use a dull knife! You’ll be able to hack through herbs instead of bruising them, and you’ll be able to prepare ingredients quicker with a sharp knife. A sharp knife won’t give you master chef-level cutting skills (that takes time and practice), but it will make your life simpler and cooking more enjoyable.
Here Is What You Need To Get Started:
- A dull knife
- Double-sided whetstone (more on that below)
- Bowl of water
- Towel
Selecting a Whetstone
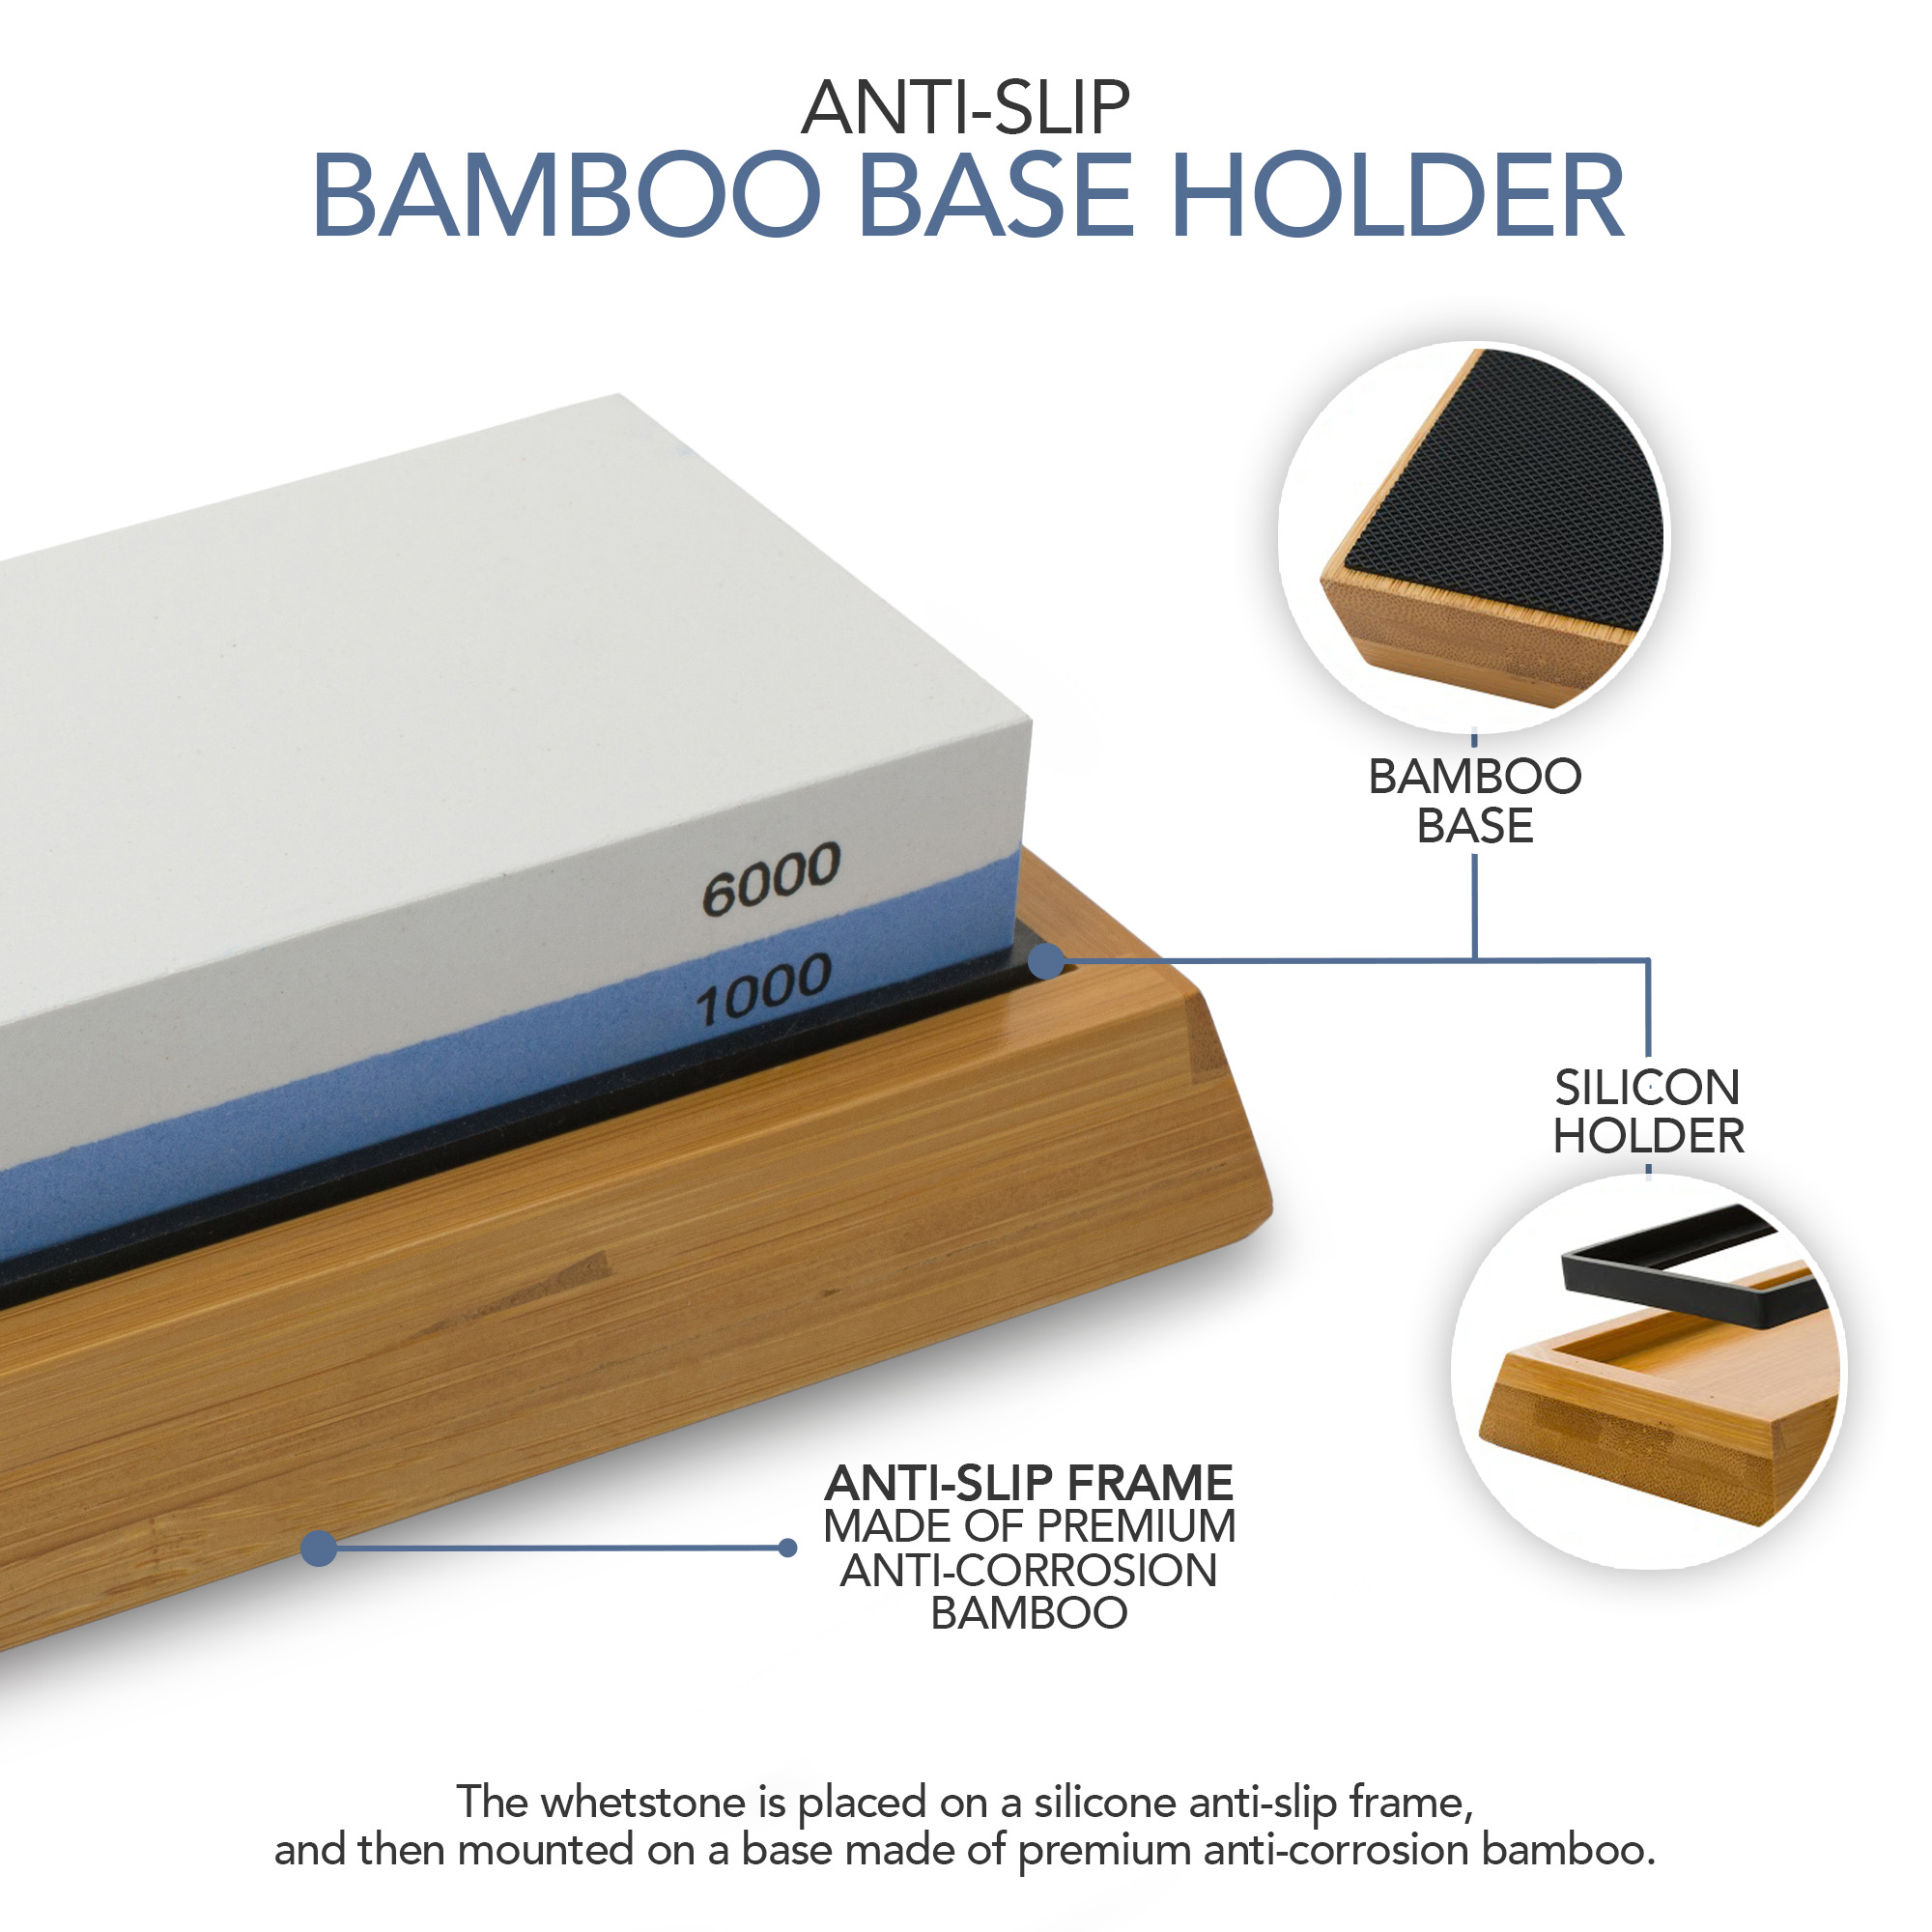
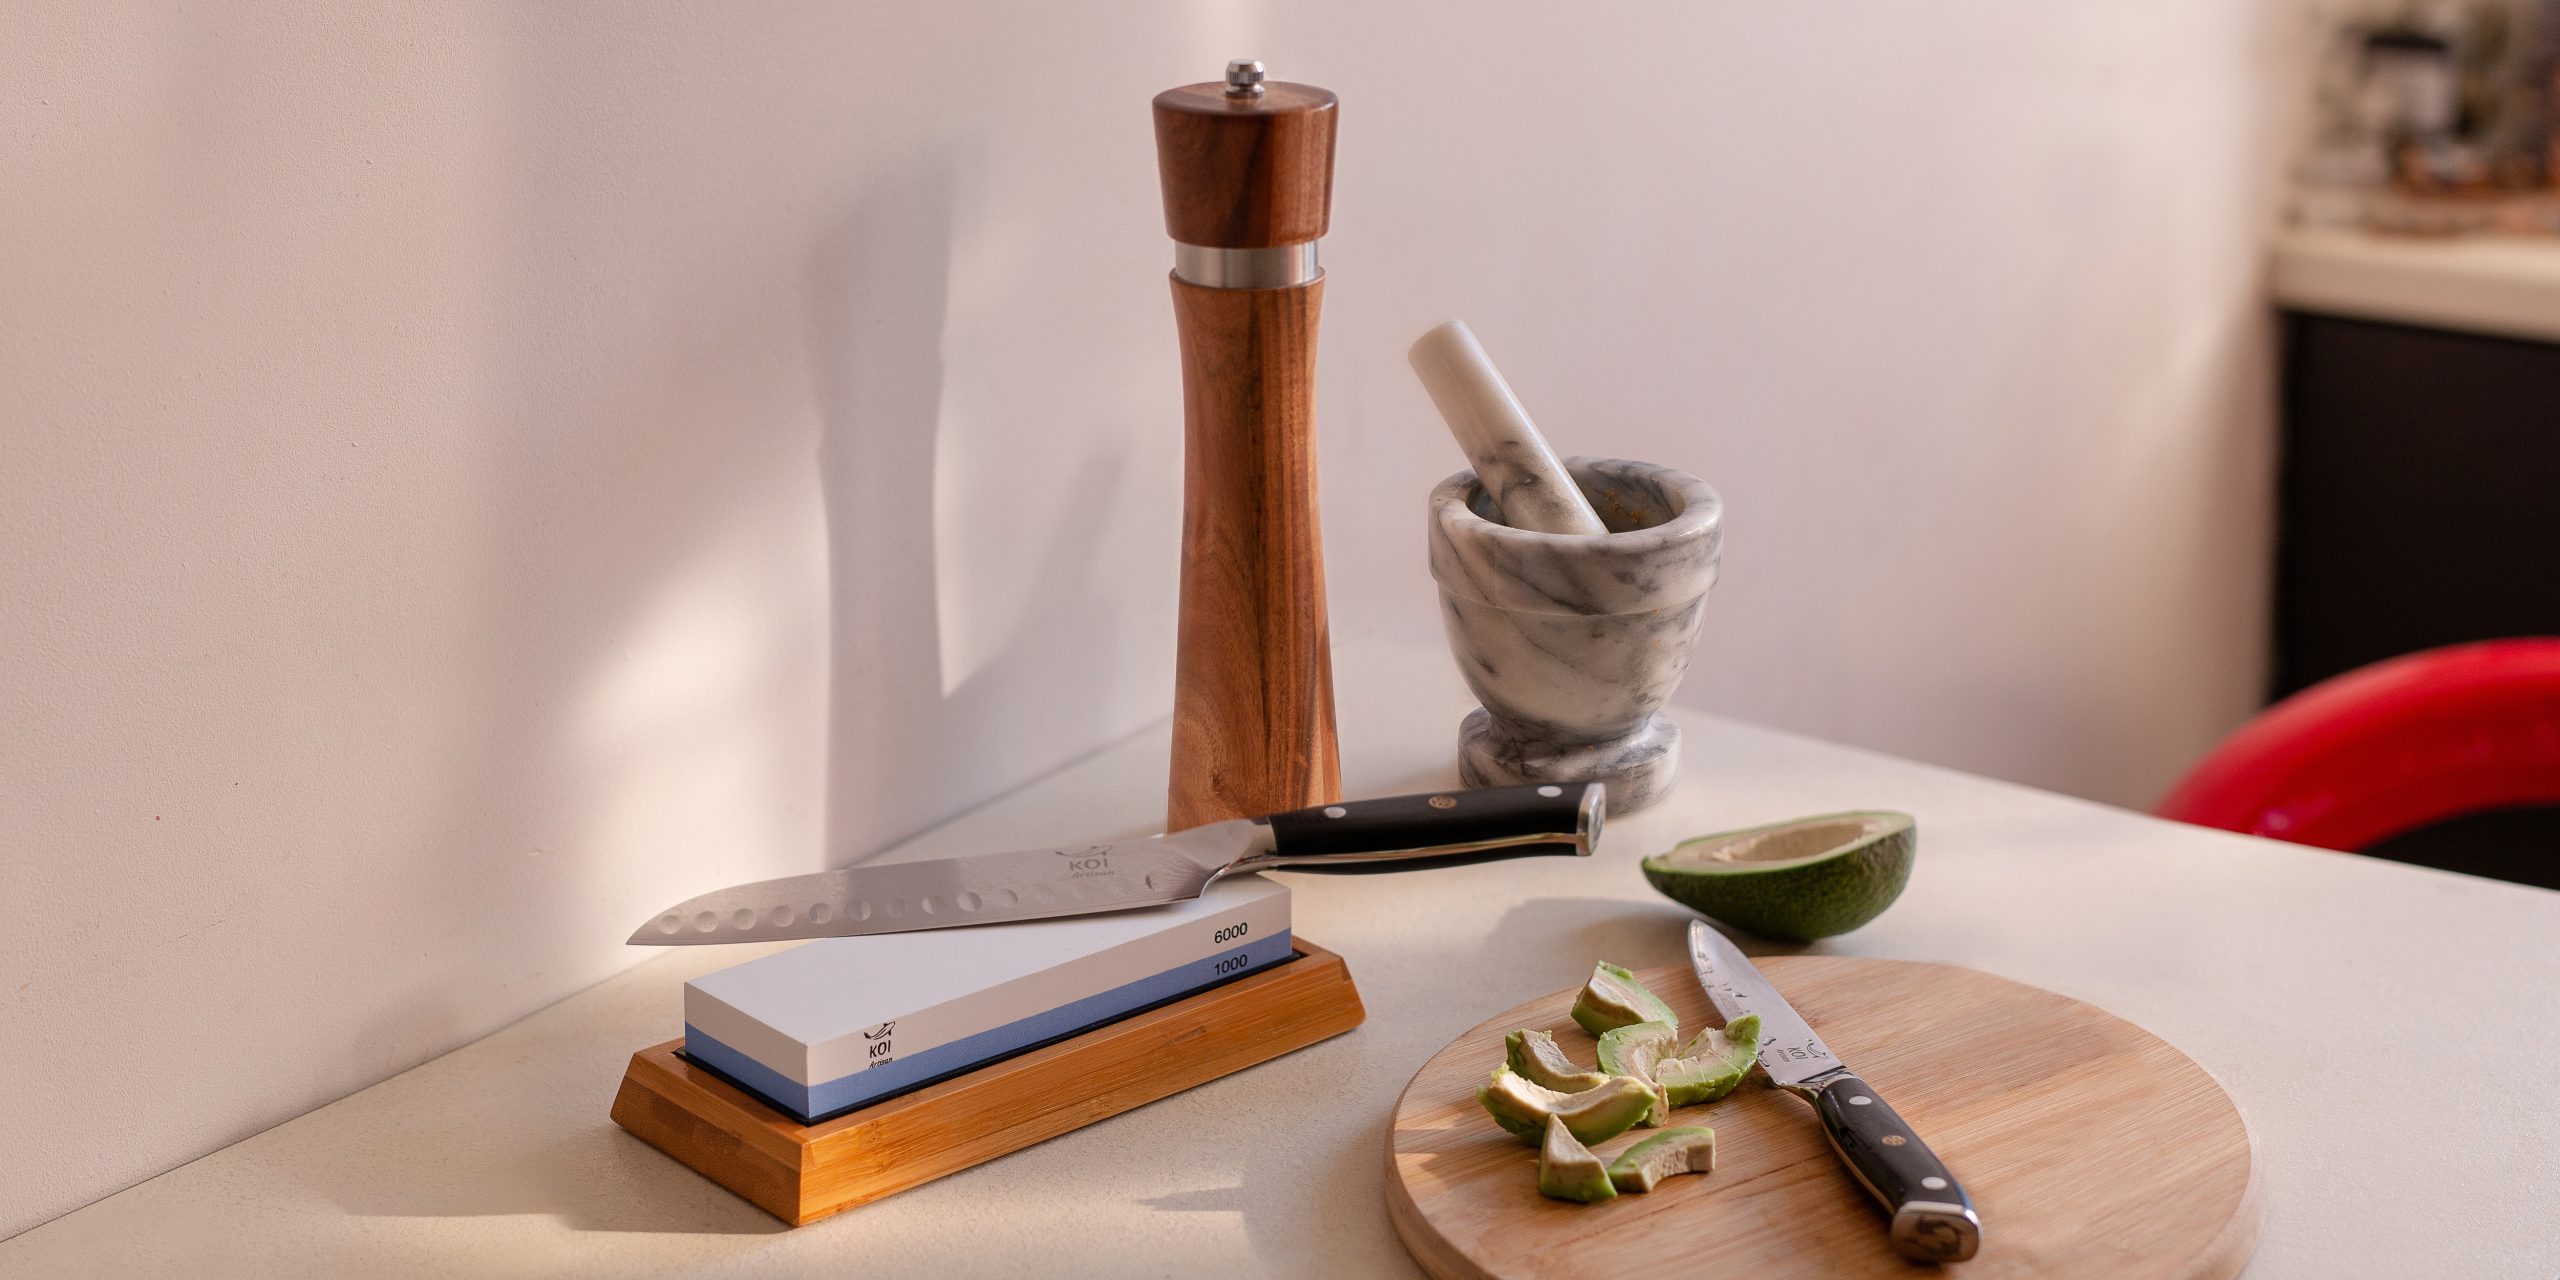
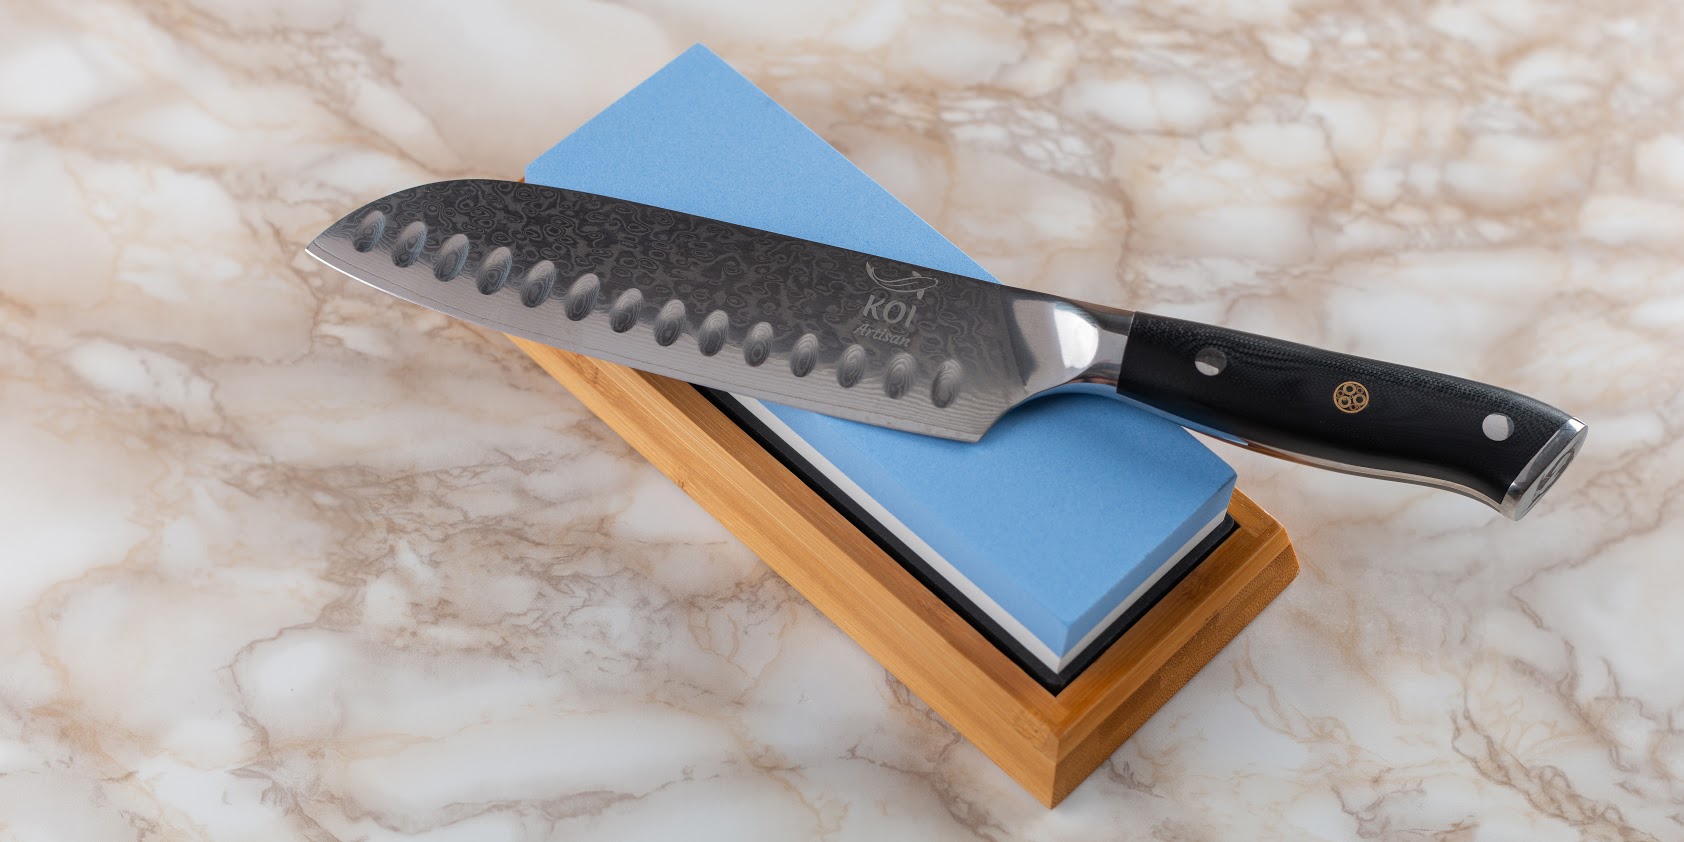
You’ll need to buy a whetstone if you don’t already have one. A double-sided whetstone with 6,000 grit on one side and 1,000 grit on the other is recommended. The smaller the amount, without thinking too hard, the coarser the stone. To make your blade as smooth as possible, you should have a set of different stones with different grit numbers. If you’re just getting started, a two-sided whetstone will serve the purpose. Protection will come first in the process of sharpening stones. The whetstone is placed on a silicone anti-slip frame, and then mounted on a base made of premium anti-corrosion bamboo. Put the base on a silicone mat, so that when you sharpen your knife, it can stand securely on the surface.
Sharpening of a Dull Knife at Home:
After you’ve gathered everything you need, take a seat, toggle on your favorite Spotify playlist, and get sharpening!
? Step 1: Wetting the Stone
If you have a whetstone that needs to be wet, first immerse it in water until no more air bubbles emerge. You’ll be better off soaking for a longer period of time.
During the sharpening process, make sure to wet the stone every now and then. Slurry is made up of water and whetstone dust. During sharpening, the slurry does the majority of the job. Don’t soak the stone completely because this will wash the slurry away; just a few drops here and there will suffice.
? Step 2: Finding the Angle
If you’ve done some research into blade sharpening, you’ve probably come across the term “edge angle.” The angle, in essence, determines how “pointy” the edge is — the smaller the angle, the pointier. Pointy edges are useful for cutting objects, but they aren’t particularly long-lasting. Less pointy points, on the other hand, aren’t as good at cutting objects, but they’re much more durable.
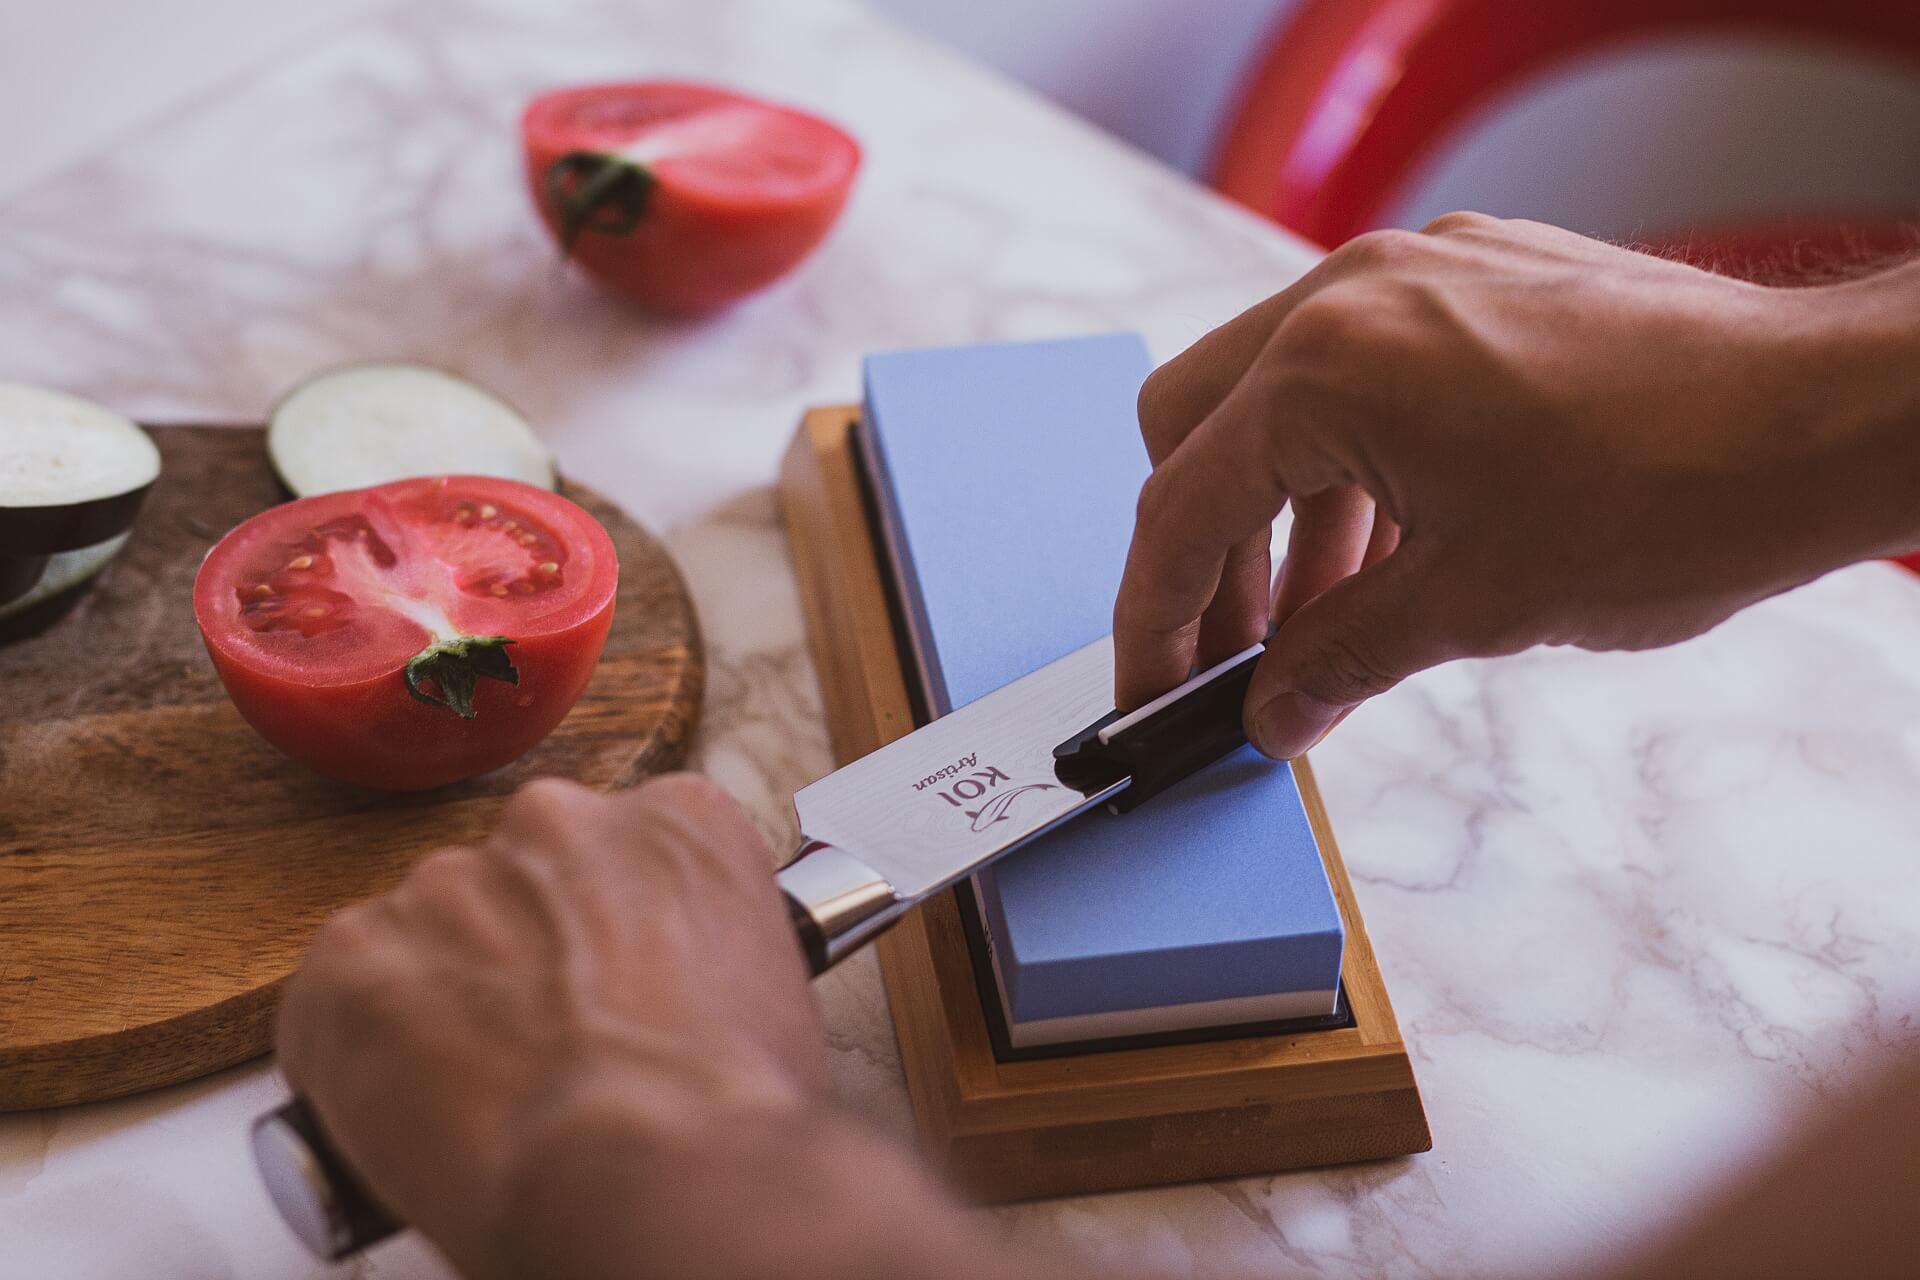
The best and most accurate way to get a consistent angle is to align the blade perpendicular to the stone, then rotate it halfway between vertical and horizontal (this produces a 45-degree angle), then halfway again — this creates a 22.5-degree angle. Keep track of how much room there is between the back of the knife and the stone and maintain it throughout.
Tip: We suggest placing the edge of the knife on the stone and the spine (back) of the blade about halfway up your horizontal thumb. That should give you approximately the right angle!
Another thing we’d like to touch on is hand placement. We recommend starting with the handle in your dominant hand as this will feel slightly more natural. The hand that’s holding the handle should have a firm grip and your other hand (the one that will be applying pressure) should be placed so that your fingers are on the blade near the edge. Make sure you have a firm grip at all time — losing control of the blade during sharpening is going to lead to you messing up the edge, the whetstone, or your fingers. Go slow and stay in control.
? Step 3: (Re-)Defining the Edge
Aside from being potentially fatal, dull knives are often extremely inconvenient to use. The next (and probably most important) step in having a razor-sharp knife is to re-define the edge after you’ve prepared the stone and found your angle.
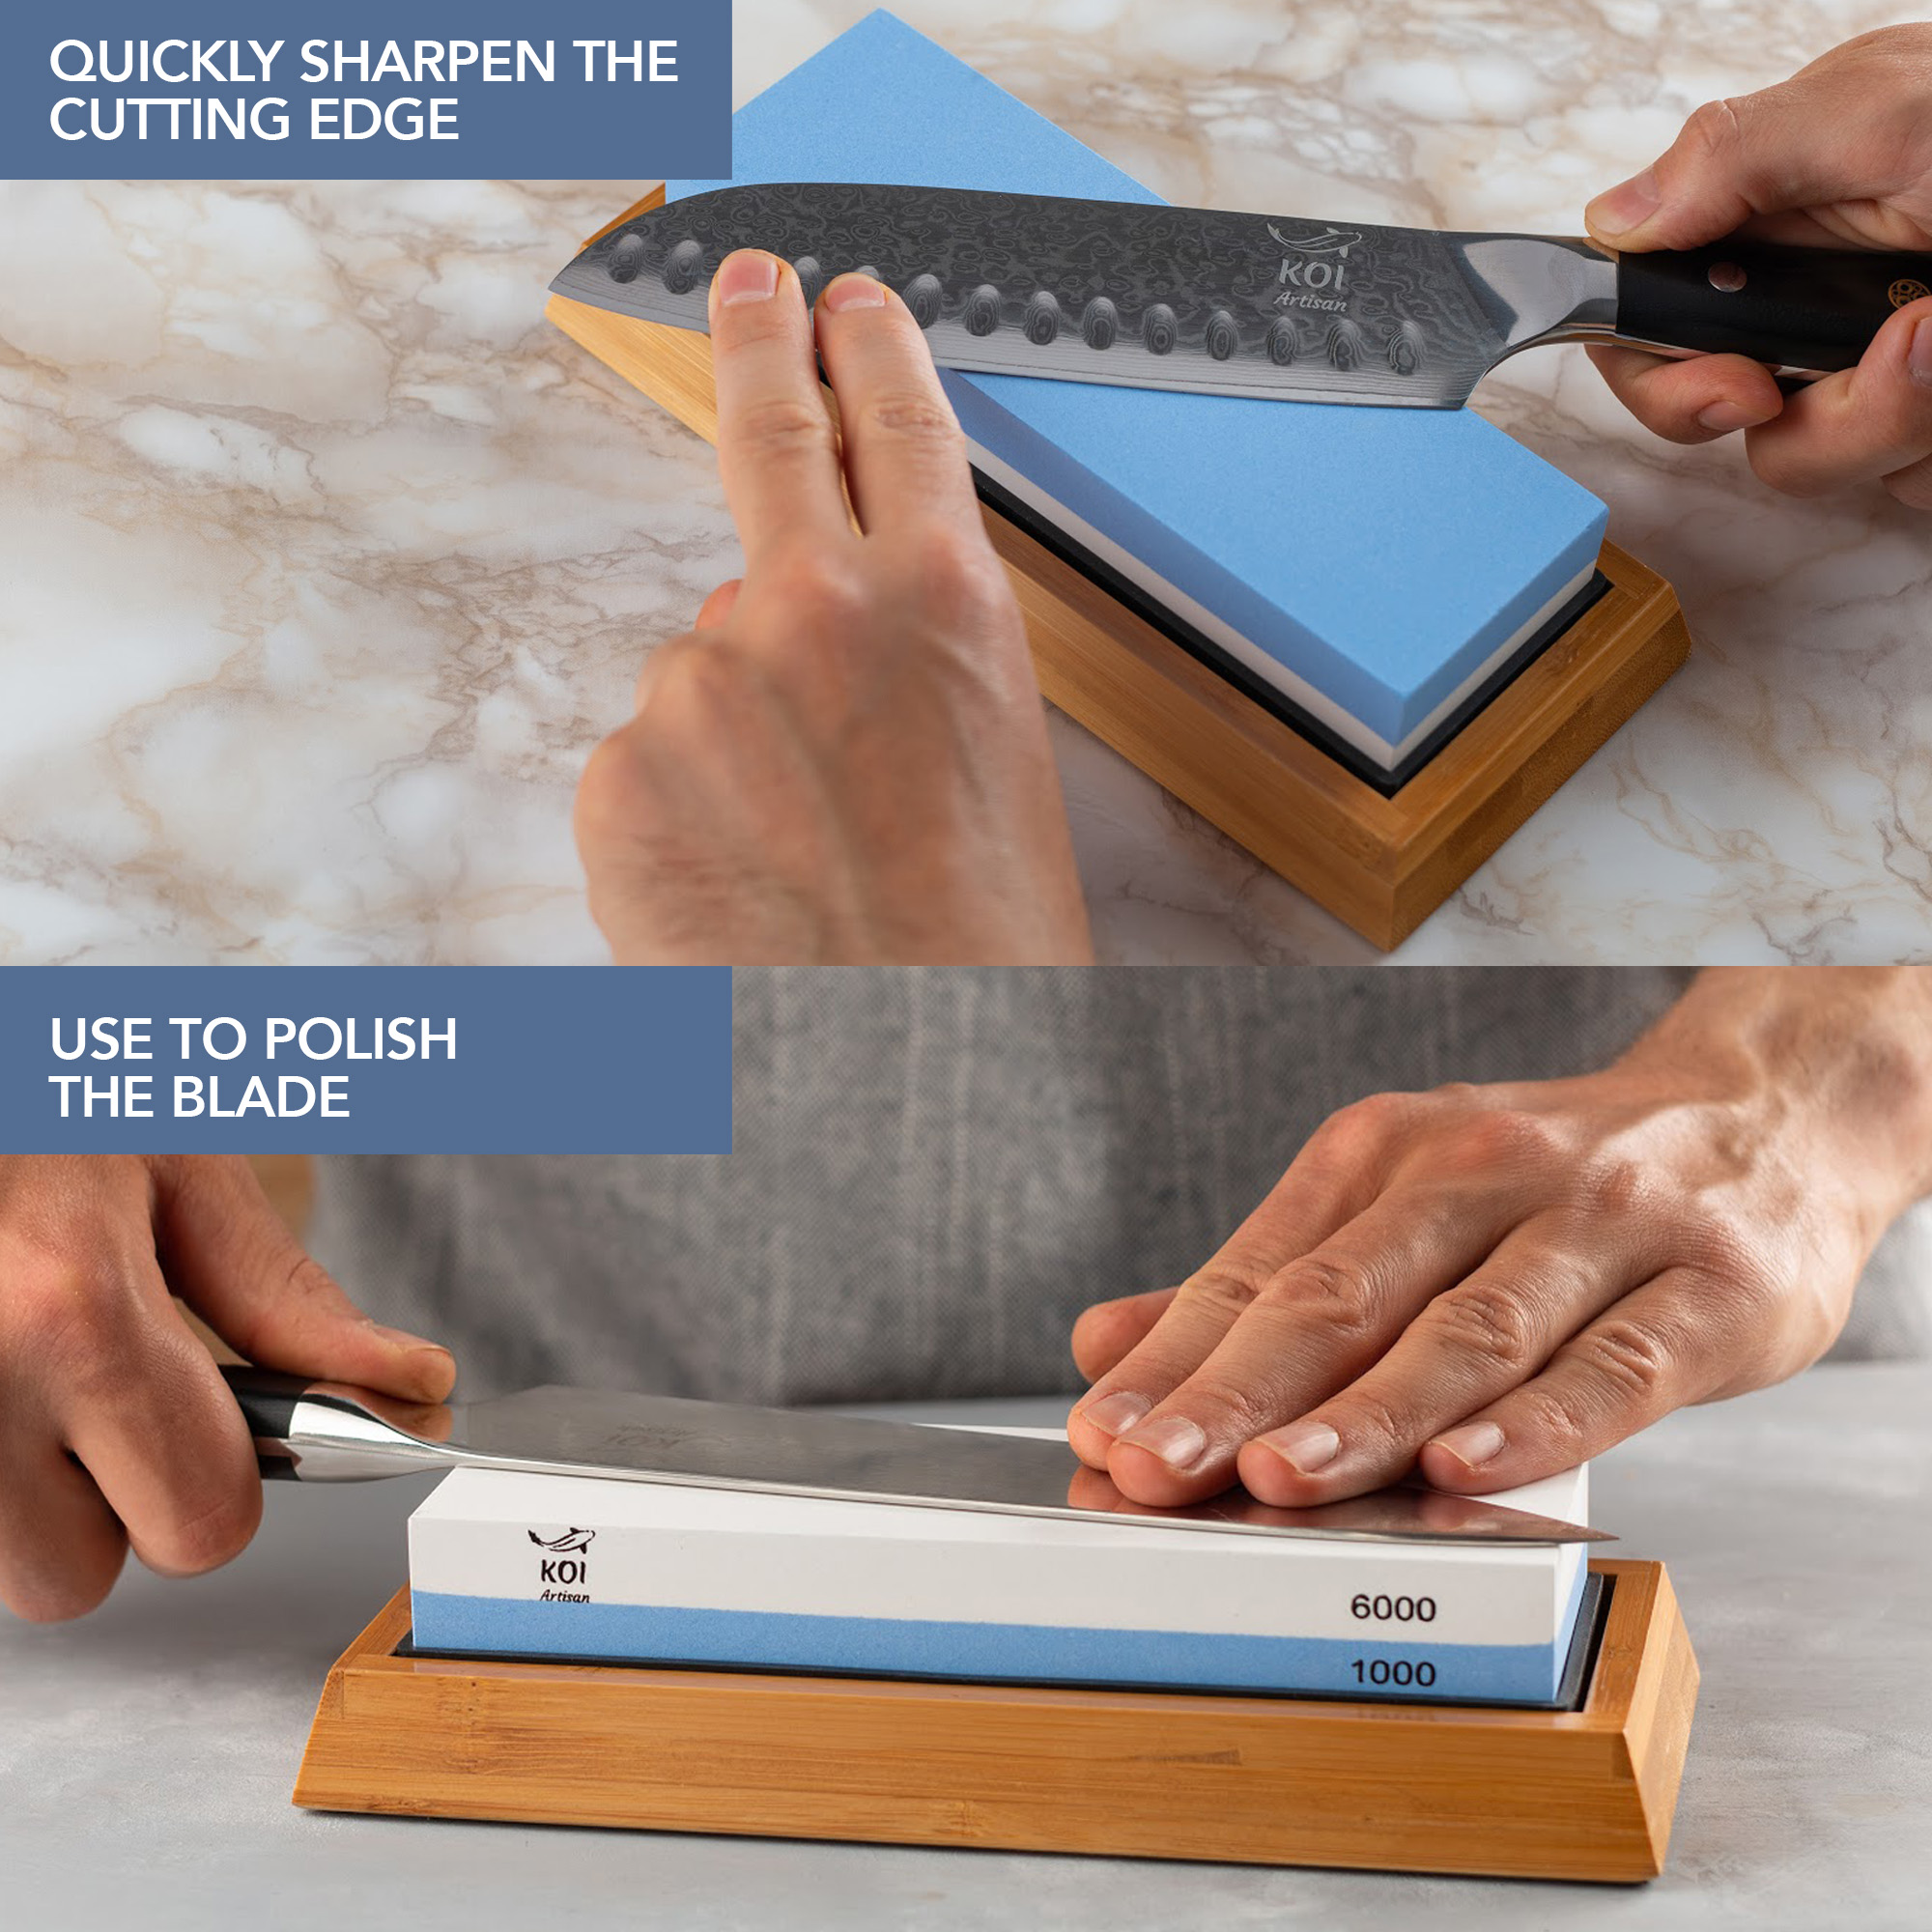
You’ll want to use the coarsest stone you have to do this (use your 1,000-grit side). Start by finding your angle and moving back and forth. When you take the knife out, you’ll just be applying pressure.
Tip: Don’t be too concerned about completing this task quickly. Instead, keep the pressure and angle constant in the backwards and forward’s motion. Start at the handle and work your way out to the edge, starting with the part of the blade closest to the handle.
What are your plans for dealing with this? The easiest method is to rotate the blade while pulling back — if you do this slowly enough, you should be able to match the blade’s curve while maintaining a steady angle.
How many times should you have to back and forth? Before moving on to the next segment, we suggest practicing at least 10-15 times. Of course, how dull the blade is and how much pressure you apply will determine this, but 10-15 is a reasonable estimate so you can’t over sharpen the blade.
? Step 4: Polishing the Edge
Although this step does not actually polish the blade, it is the best description we could come up with. Again, hopefully, you’d have a range of 4-6 different stones of varying grit that you’d progress through. However, if you’re a novice, you’ll want to move to the finer grit (6000 side) and repeat the process: Work down one side of the blade, then turn it and work down the other side. Proceed to the next phase after this is completed.
? Step 5: Honing the Edge
Hone the blade with the lovely honing steel that came with your knife block and that you assumed was a knife sharpener. Pass both sides of the blade along the honing steel 2-3 times, maintaining the same angle as in step 2. This will help to balance and smooth out the blade. Some of the burr should be removed as well.
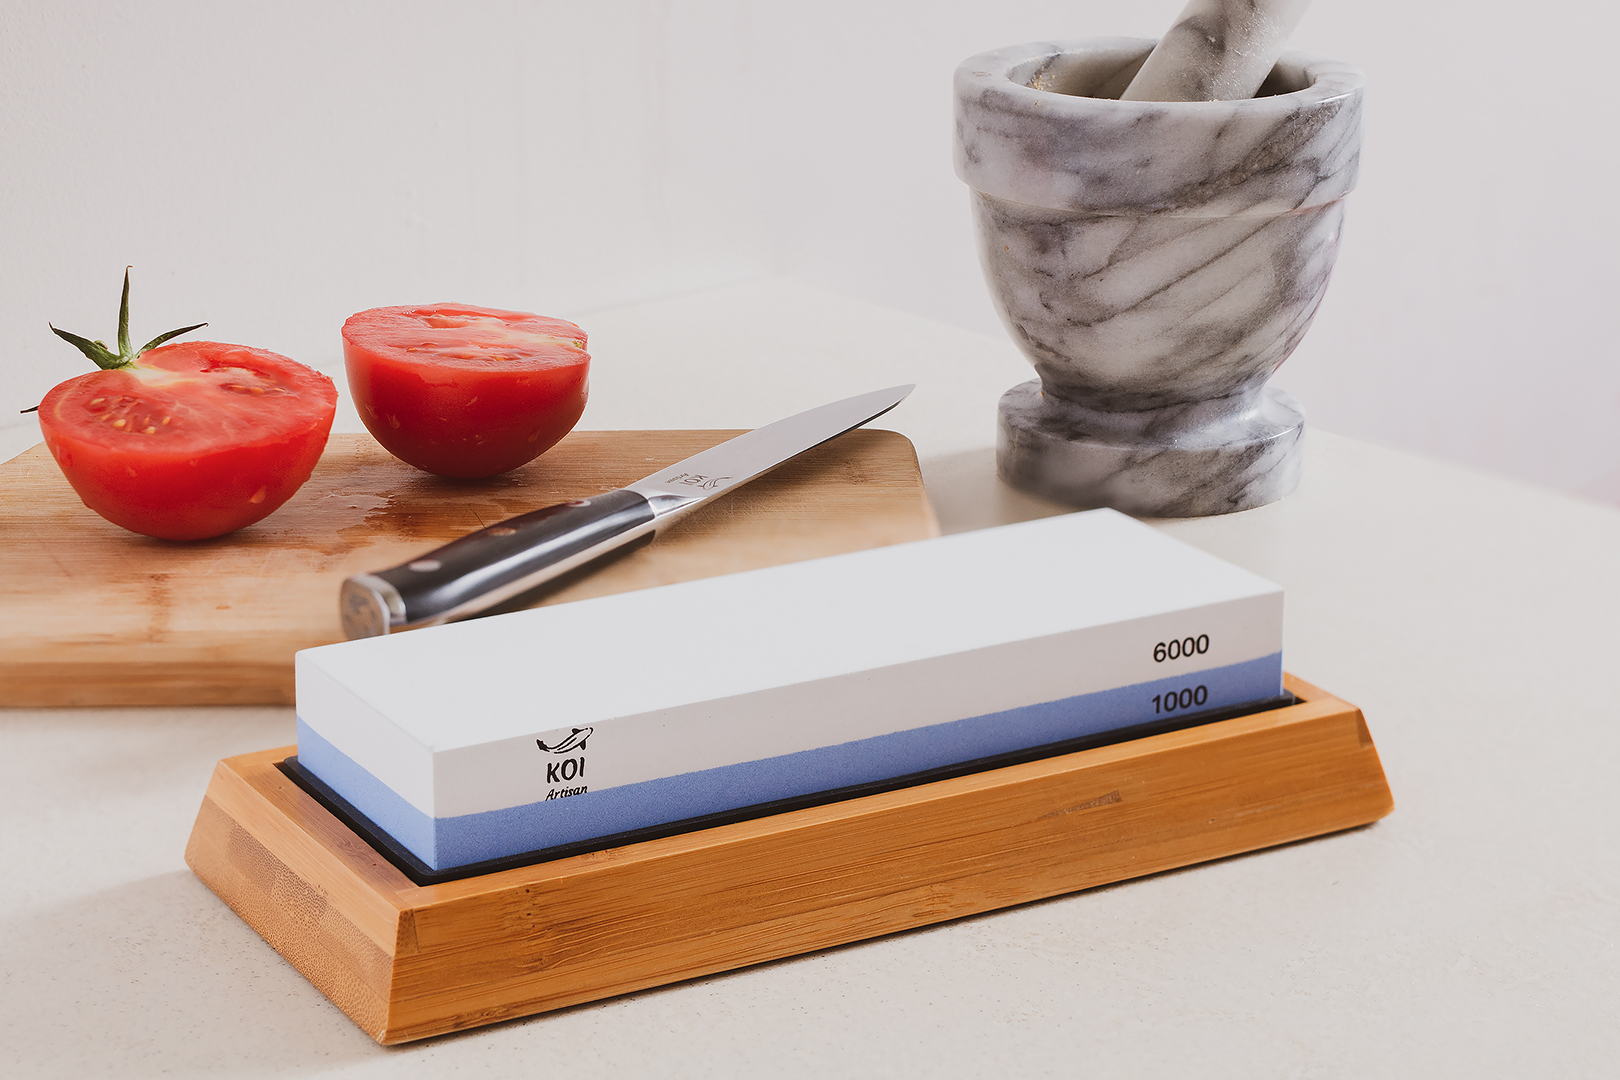
You’ve successfully sharpened the first knife! Go ahead and cut the tomato or paper.
Basic Knife Sharpening Tips
If it’s the first time, take it slowly. This cannot be emphasized enough. The most important factor in whether or not your knife can end up super sharp is keeping the angle constant. After all, you’re dealing with a knife, and even a dull knife can be deadly.
If this is your first time using a sharpening stone to sharpen a knife, start with a knife you don’t care about. You’ll most likely scuff and mark it as you try to get the hang of the motion, so practice on a less expensive knife rather than the $500 Damascus steel knife you received as a gift.
Start with a knife you don’t care about if this is your first time using a sharpening stone to sharpen a knife. You’ll most likely scuff and mark it as you practice, so practice on a less costly knife rather than the $500 Damascus steel knife you got as a gift.
If you’re going back and forth with your thumb to gauge your angle, make sure it’s not rubbing against the wall. It won’t hurt right away, but it will hurt later. Oh, no!
Advanced Knife Sharpening Tips
Since sharpening the knife wears down the stone, it’s important to rotate it frequently to ensure even wear. You will need to resurface a worn stone with a levelling stone if it is especially worn. Be aware that these can be costly.
As previously said, a set of stones of varying grit would be ideal. Stones with a grit of less than 1000 are good for repairing significant blade damage (chips, pits, etc.). Depending on how well you take care of your knives, you may only need a fast sharpening with a 6000+ grit stone, or you may need to start from the beginning with 1000 grit.
If you’re going to spend money on a nice stone kit, you may as well get a leather strop as well. To align, smooth, and polish the knife, a leather strop will be used instead of a honing steel. This is how you’ll get a super gleaming, razor-sharp finish.


 No products in the cart.